The Joys of XM Radio
For Christmas Dan's family very generously gave us XM Radio for our camper. We were so excited; until we learned what a project this would turn out to be.
Note to Goddard Family: We still love the gift and now, 4 months later, we think we may have figured it out- thanks again.
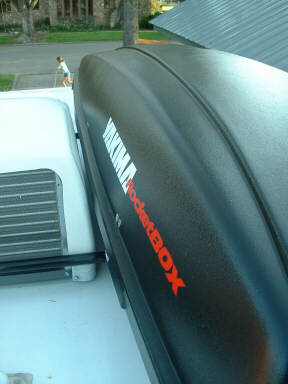
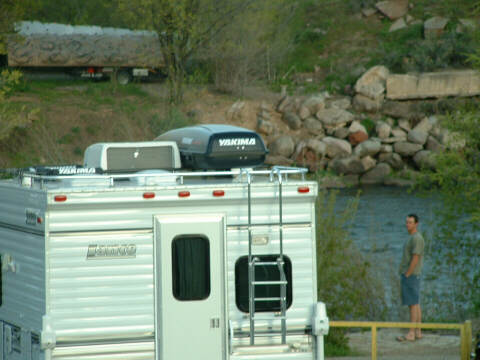
Now that I have covered my derriere with the in-laws let me tell you about the joys of XM Radio. First you have to be able to get a southern signal for the antenna. This is problematic because when you get the radio installed the logical place to put the antenna is on the roof of the truck, but then you add the cab-over and you can't get a signal to save your life. So you have to find a way to get the antenna up to the roof of the camper.
Again this is where Dan and Rachel realize that engineering would have been a useful major for one of us. After much deliberation we have come up with the solution featured in the pictures below. Now I must tell you that I am a bit apprehensive about posting this pre-trial, as in before we have driven the newly modified truck at 60mph for a day or two. Who knows if this will hold up.
However, after some thought I decided that this blog will contain our victories and our defeats, so I am posting this and you may keep your eyes out for a future posting entitled "The #@$*& Joys of XM Radio- Part II".
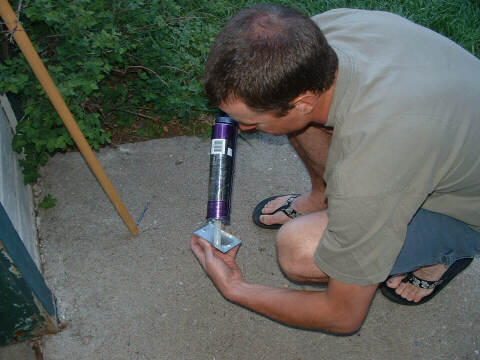
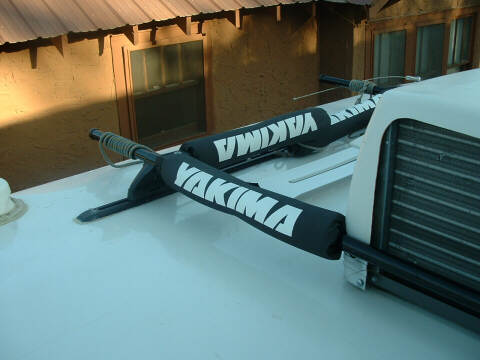
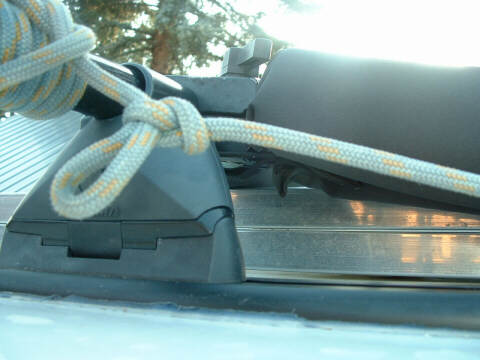
The antenna is magnetic, so we had to affix a metal plate to our aluminum roof.
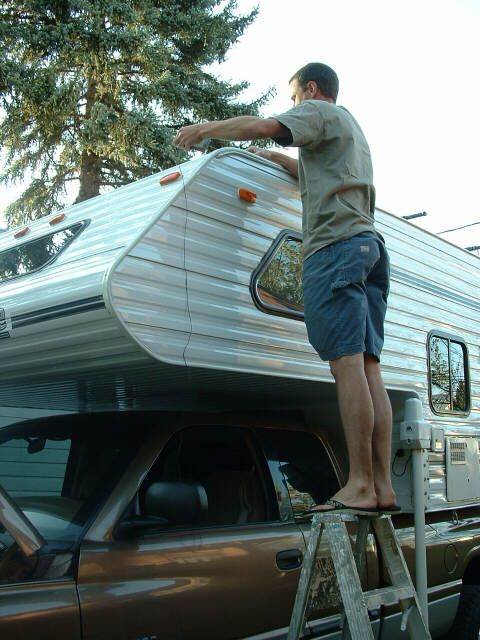
Note: Dan his been properly scolded for his non-osha-approved ladder usage.
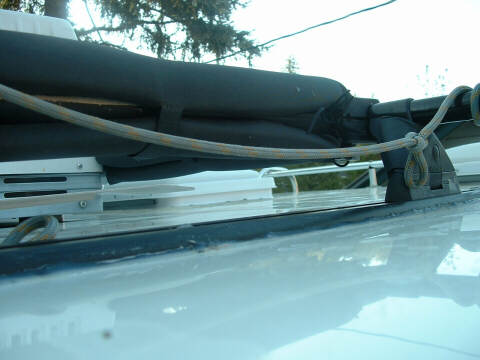
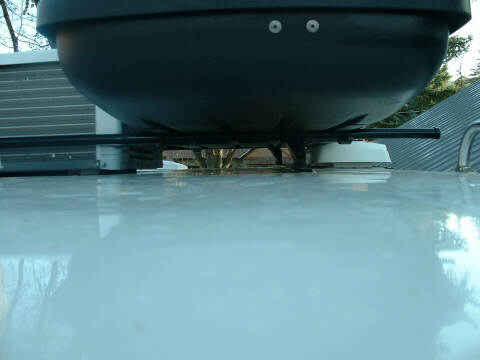
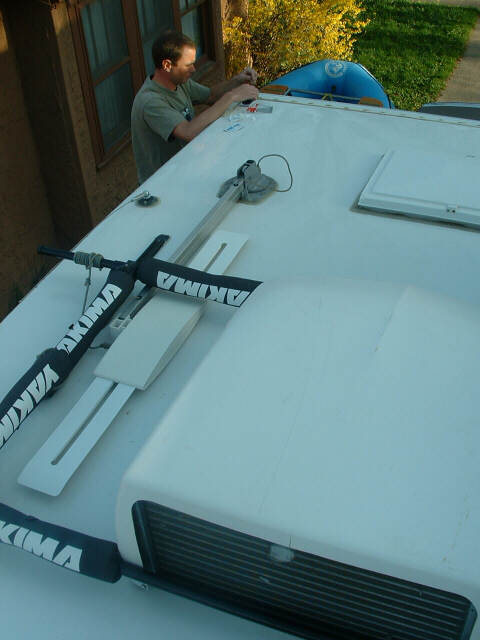
The antenna wire runs through the truck's fire wall, then up the rubber on the outside of the windshield to the truck's roof. The there is about 6" of expeosed wire between the truck roof and the cab-over bottom. The wire runs from underneath the cab-over, along the edge up to the roof.
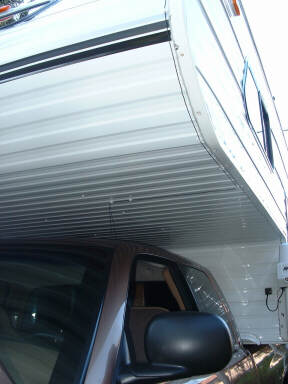
Dan used self-adhesive clips to run the wire up to the roof.